Annapurna Base Camp Trekking in Nepal: A Practical Expedition Guide
Trekking to Annapurna Base Camp is a high-altitude expedition, not a casual walk. Reaching the 4,130-metre base camp—a natural amphitheatre walled in by some of the world’s highest peaks—demands methodical physical and mental preparation. It is an achievable challenge, but one that requires the correct mindset from the outset.
Your First High-Altitude Expedition
The correct approach to the Annapurna Base Camp trek is to view it as a genuine expedition. This journey serves as a proving ground for more demanding objectives, whether in the high Andes or the polar regions. It is a proper test of resilience and a lesson in operating effectively in a high-altitude mountain environment.
The objective is to stand at 4,130 metres (13,550 feet) inside the Annapurna Sanctuary, surrounded by Himalayan giants such as Annapurna I (8,091m), Annapurna South (7,219m), Machapuchare (6,993m), and Hiunchuli (6,441m). Reaching this point requires more than fitness; it demands a quiet competence built on intelligent preparation.
A Test of Resilience and Preparation
This is not about conquering a mountain. It is about moving through a powerful landscape with respect and self-awareness. The real work is in the daily routine: the relentless ascending and descending on steep terrain, the gradual adjustment to thinning air, and the constant management of one's own energy reserves. This aligns with our ethos of building competence before confidence—a mindset that is non-negotiable for any serious undertaking in the mountains.
Part of that preparation is ensuring you are covered for contingencies. Specialised travel insurance for adventure travel is a mandatory requirement for a trek of this nature. Do not leave home without it.
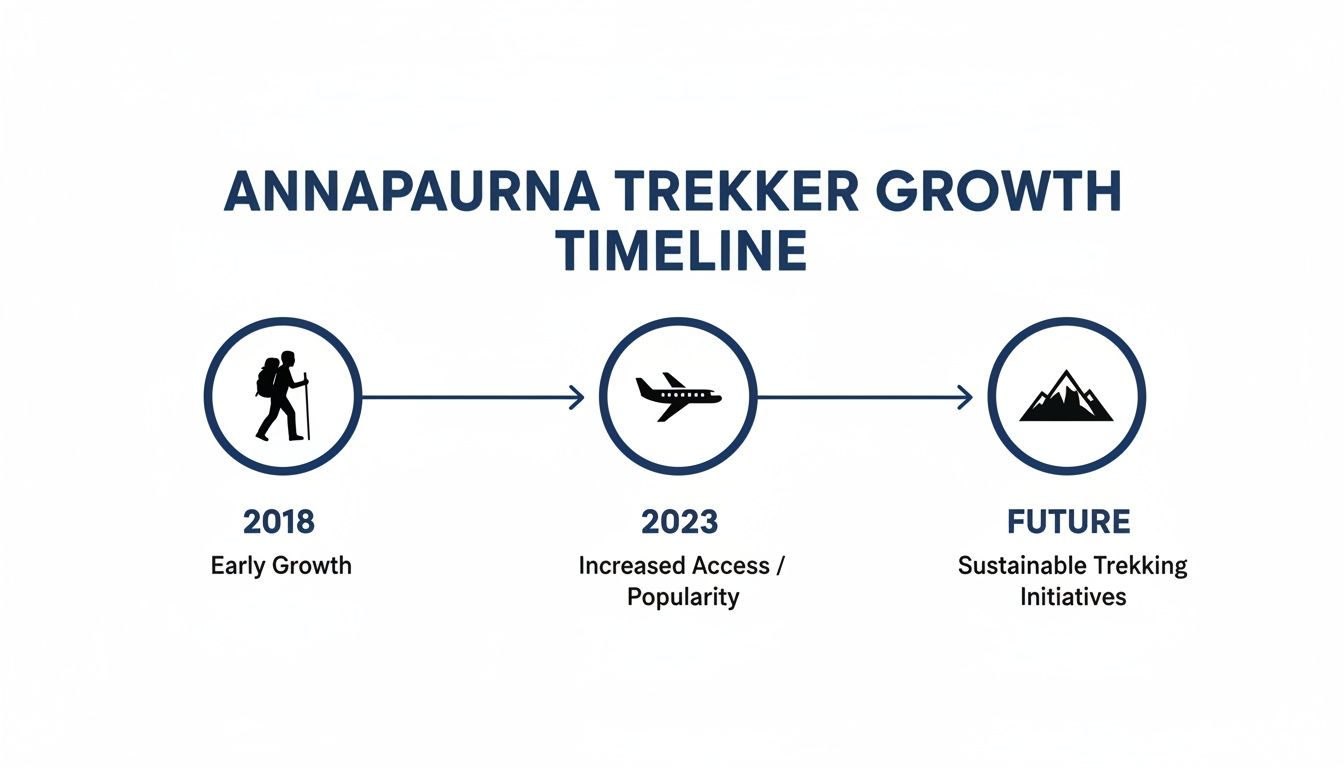
The trek's popularity has grown significantly. In the 2023 fiscal year, the Annapurna region recorded 191,558 foreign visitors. Whilst this highlights the trek's accessibility, it should not obscure the real challenges involved.
The line between a tough hike and a proper expedition is drawn by preparation. Annapurna Base Camp demands an expeditionary mindset from day one, focusing on acclimatisation, pacing, and logistics.
Ultimately, this journey is a valuable stepping stone. The skills developed and the self-awareness gained are directly transferable to more demanding environments across the globe. The first and most critical step is understanding how to prepare your mind and body by training for the unknown.
Mapping Your Day-By-Day Itinerary
Any sound expedition is built on solid planning. This is a breakdown of the classic 10 to 12-day Annapurna Base Camp trek. Understanding the route, the rhythm, and the daily demands before your boots hit the trail is crucial. At altitude, pacing and energy management are paramount.
The trek’s post-2020 resurgence means the trails are busier. This reinforces the need for diligent planning to ensure a responsible and rewarding journey.
To help visualise the journey, here is a standard day-by-day itinerary. Consider this a strategic map, outlining what to expect from leaving Pokhara to returning.
Standard Annapurna Base Camp Trek Itinerary
| Day | Route | Approx. Trek Time (Hours) | Altitude (Metres) |
|---|---|---|---|
| 1 | Pokhara to Nayapul (Drive), Trek to Ghandruk | 5-6 | 1,940 |
| 2 | Ghandruk to Chhomrong | 5-6 | 2,170 |
| 3 | Chhomrong to Bamboo | 6-7 | 2,310 |
| 4 | Bamboo to Deurali | 5-6 | 3,230 |
| 5 | Deurali to Machapuchare Base Camp (MBC) | 3-4 | 3,700 |
| 6 | MBC to Annapurna Base Camp (ABC), return to Bamboo | 9-12 | 4,130 -> 2,310 |
| 7 | Bamboo to Jhinu Danda | 6-7 | 1,780 |
| 8 | Jhinu Danda to Nayapul, Drive to Pokhara | 5-6 | 1,070 |
These times are a guide. The primary requirement is to listen to your body and maintain your own pace, especially during ascent.
The Approach: Days 1-4
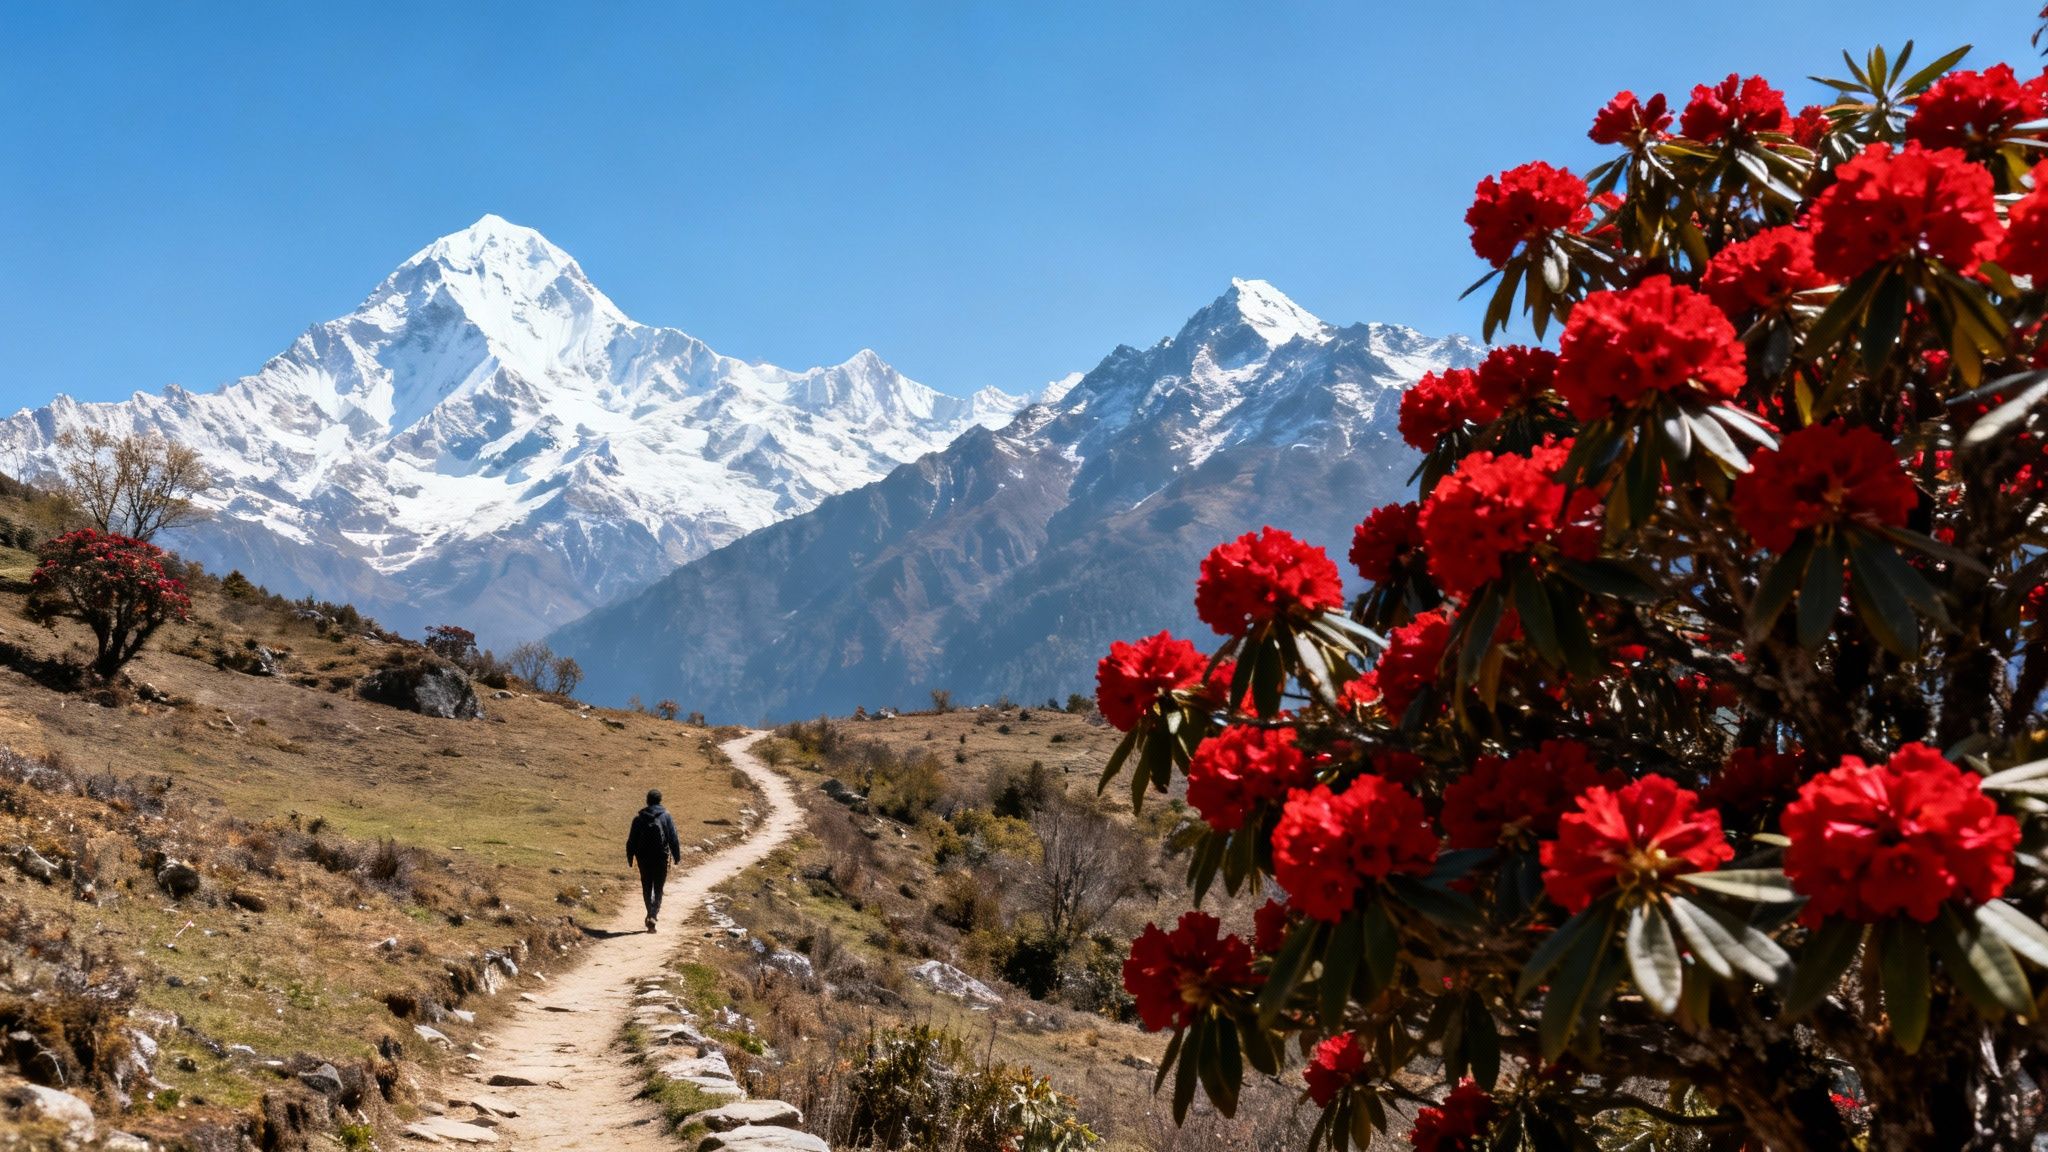
The initial days are about finding your trail legs and establishing a rhythm. The route passes through rhododendron forests and Gurung villages, with steady elevation gain.
-
Day 1: Pokhara to Nayapul (Drive), Trek to Ghandruk (1,940m)
- The journey begins with a 1.5 to 2-hour drive from Pokhara. The trek itself is 5-6 hours over 9 kilometres. This is the first encounter with the stone staircases of the Annapurna region – they command respect from day one.
-
Day 2: Ghandruk to Chhomrong (2,170m)
- A 5-6 hour day covering approximately 10 kilometres. The trail descends steeply to the Kimrong Khola river before a long climb to Chhomrong. This is a classic example of "Nepali flat" – a mix of ascent and descent.
-
Day 3: Chhomrong to Bamboo (2,310m)
- A more demanding 6-7 hour day. It starts with a descent of 2,500 stone steps to a suspension bridge, followed by a long ascent towards Sinuwa, before dropping again to Bamboo. Energy management is key.
-
Day 4: Bamboo to Deurali (3,230m)
- An important day for acclimatisation, taking 5-6 hours. The path climbs steadily through forest, past settlements like Dovan and Himalaya. The 920-metre gain means the effects of altitude become noticeable as the landscape turns more alpine.
An expedition leader's primary concern is managing the team's energy reserves. Treat the relentless staircases of the lower Annapurna region with respect. A steady, deliberate pace here pays dividends at higher altitudes where oxygen is scarcer.
Entering the Sanctuary: Days 5-7
Above 3,000 metres, the parameters change. The focus shifts to acclimatisation, weather observation, and a reduced pace. The tree line falls away, and the scale of the Himalayas becomes apparent.
-
Day 5: Deurali to Machapuchare Base Camp (MBC) (3,700m)
- A short but critical day of 3-4 hours. The slow, steady climb to MBC is vital for acclimatisation. The route enters the Modi Khola valley, an avalanche risk zone in winter and spring, so situational awareness is essential. An early start is advisable to pre-empt afternoon cloud build-up.
-
Day 6: MBC to Annapurna Base Camp (ABC) (4,130m) and back to Bamboo (2,310m)
- The summit day. The day starts before dawn for the 2-3 hour ascent to ABC, aiming for a sunrise arrival. After observing the 360-degree mountain panorama, the long descent begins. Returning to Bamboo is a significant undertaking—typically 7-9 hours of trekking—but descending to a lower altitude is the correct physiological action.
-
Day 7: Bamboo to Jhinu Danda (1,780m)
- Another long day on the descent, taking around 6-7 hours. It involves re-climbing the stone staircase to Chhomrong before a final steep drop to Jhinu Danda. The reward is the natural hot springs.
The Final Stretch: Days 8-10
The route now returns to the warmer, lower valleys. Complacency should be avoided; tired legs increase the probability of minor errors.
- Day 8: Jhinu Danda to Nayapul, Drive to Pokhara
- The final day of trekking is a relatively gentle 5-6 hours, mostly following the Modi Khola river to Nayapul. From there, it is a 1.5 to 2-hour drive back to Pokhara. Some itineraries split this into two easier days for a more measured finish.
Understanding Altitude, Weather and Seasons
The Annapurna Base Camp trek is graded as moderate to demanding. This reflects the reality on the ground. Expect to be on your feet for 5-7 hours daily, on varied and challenging terrain. The region's stone staircases will test leg strength and cardiovascular fitness with significant climbs and descents each day.
The primary challenge, however, is altitude. This is a physiological issue, not a question of fitness. Acute Mountain Sickness (AMS) is a tangible risk for anyone ascending above 2,500 metres, and a significant portion of this trek is above that elevation.
AMS symptoms can be subtle, often starting with a persistent headache, nausea, or undue fatigue. It is a critical error to ignore these signs. The only proven countermeasure is a slow, steady ascent to allow the body to adapt. This is why well-planned itineraries include shorter days or full acclimatisation days. They are not optional; they are non-negotiable for a safe trek.
Choosing Your Trekking Window
Timing is a fundamental operational decision that defines the entire experience. For the Annapurna Base Camp trek, two prime windows offer the most stable conditions.
These two main seasons are:
- Spring (March to May): This is when the rhododendron forests on the lower trails are in full bloom. Temperatures are warmer. Expect clear skies in the morning, with clouds often developing in the afternoon, sometimes bringing a short shower.
- Autumn (September to November): This is widely considered the optimal season. The monsoon has cleared dust from the atmosphere, leaving exceptional clarity. The mountain views are at their best. Days are typically sunny and clear, followed by cold, crisp nights.
The mountain environment dictates the terms of engagement. Our role is not to fight it, but to understand its patterns and move within them intelligently. Choosing the right season is the first step in this process.
Understanding Off-Season Challenges
Trekking outside these peak seasons is possible but involves significantly increased risk. It should only be attempted by those with considerable experience in high-altitude and winter conditions.
The monsoon season (June to August) brings heavy, persistent rain, creating slippery trails and a high risk of landslides. The mountains are usually obscured by cloud, and the lower trails are subject to leeches.
Winter (December to February) presents different hazards. At Annapurna Base Camp, night-time temperatures can drop to -20°C or lower. Heavy snow can block the trail, particularly in the narrow valley leading into the Sanctuary, which has a significant avalanche risk. The section between Deurali and Machapuchare Base Camp is particularly exposed. Whilst views on a clear winter's day can be spectacular, the conditions require proper winter equipment and a sound understanding of cold-weather mountain travel.
Managing Your Expedition Logistics
Two key documents are required: the Annapurna Conservation Area Permit (ACAP) and the Trekkers’ Information Management System (TIMS) card . Both can be obtained from the Nepal Tourism Board office in either Kathmandu or Pokhara. Remember to bring passport photographs and cash for the fees. This is a simple but essential process.
The Strategic Value of Local Guides and Porters
Hiring a local guide or porter is a sound strategic decision. A good guide provides real-time information that is not available from a map—they know the trail conditions, can assess the weather, and understand acclimatisation protocols. A porter carries the bulk of your equipment, freeing you to focus on the trek, and represents a direct, meaningful contribution to the local economy.
The recommended method of hiring is through a reputable agency in Pokhara or Kathmandu. This ensures that the individuals are experienced, properly equipped, and insured. It is an ethical choice as much as a practical one.
Another non-negotiable logistical element is insurance. It is vital to understand how to choose the right travel insurance for your adventure, specifically one designed for high-altitude trekking. The policy must explicitly cover trekking up to at least 5,000 metres and include helicopter evacuation. There are no exceptions.
Engaging local guides and porters is not a sign of weakness; it’s a sign of intelligent expedition planning. Their expertise is a critical asset, and your employment directly supports the mountain communities that make these journeys possible.
Daily rates for guides and porters are fairly standard, but it is wise to clarify what is included. Typically, their food and accommodation on the trail are factored into their rate. For a more detailed examination of expedition management, see our guide on planning an expedition, covering logistics, learning, and lessons.
Ethical and Practical Considerations
A responsible trekker ensures the welfare of their entire team. Check that your guide and porter have adequate equipment—proper footwear, warm clothing, and sunglasses are essential, particularly on higher, snow-covered sections. This is a shared responsibility.
This approach transforms a simple trek into a collaborative journey built on mutual respect, acknowledging the value of the local professionals who make such experiences possible.
Essential Kit and Physical Preparation
A successful expedition is determined long before the first step is taken. Correct equipment and physical groundwork are the foundation of a safe and effective trek. Every piece of kit carried to Annapurna Base Camp must serve a functional purpose.
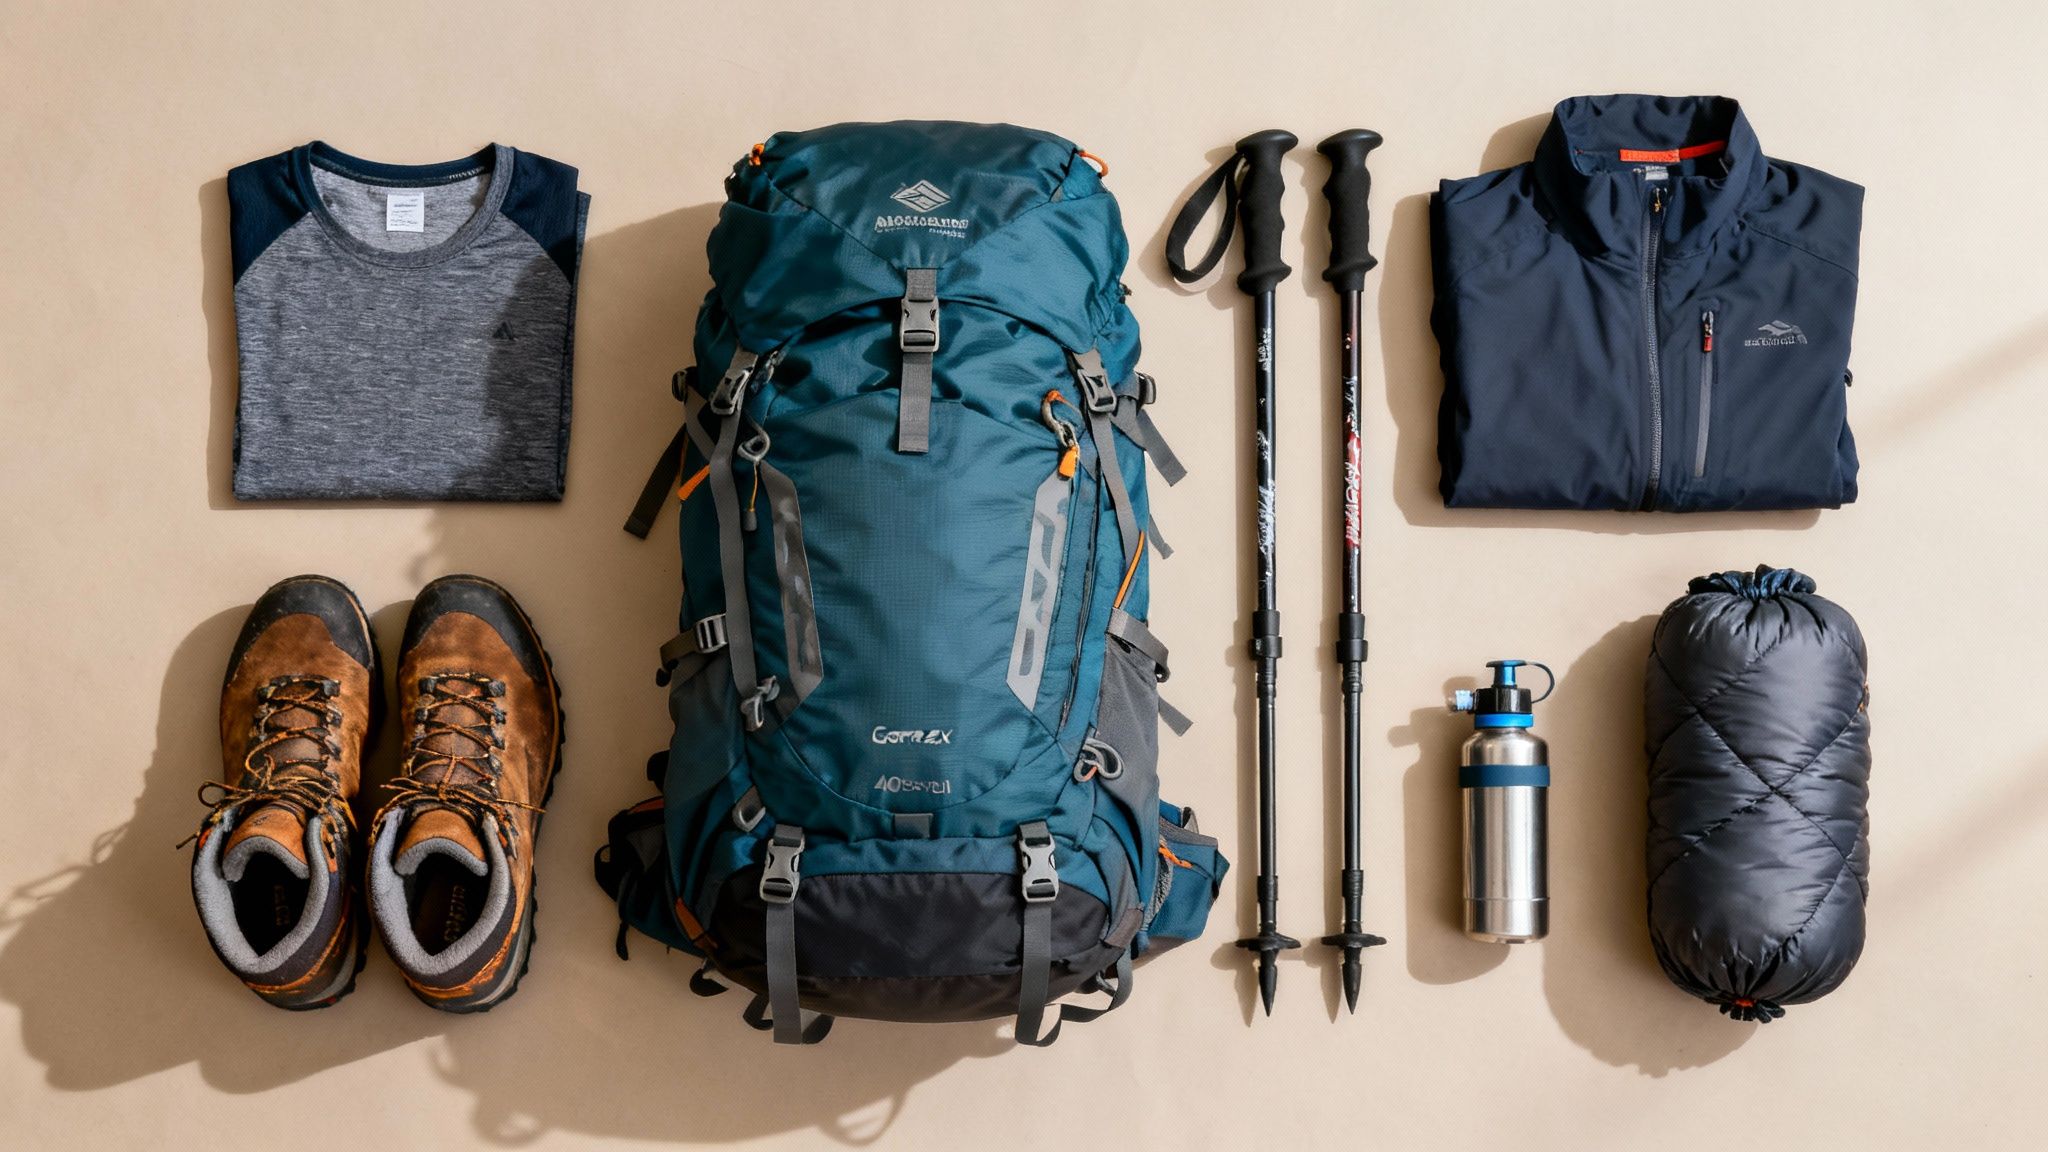
This is not a simple packing list; it is about building a system. Clothing, boots, and core equipment must work together to manage moisture, regulate temperature, and enable efficient load-carrying.
Your Layering System: The Core Defence
The Himalayan weather is changeable, and a layering system is the primary defence. The principle is to trap warm air close to the body whilst allowing perspiration to escape, preventing the cooling effect of damp clothing.
- Base Layer: This is the layer worn against the skin. Merino wool is the superior material; it wicks moisture, insulates when damp, and is odour-resistant. Reliable brands include Icebreaker and Smartwool. Avoid cotton, as it retains moisture and rapidly chills the body.
- Mid Layer: This is the insulation layer. A Polartec 200 fleece or a lightweight down/synthetic insulated jacket is appropriate. It must be easy to add or remove in response to changing exertion levels and temperatures.
- Outer Shell: This is the barrier against wind and precipitation. A high-quality waterproof and breathable jacket is non-negotiable. Look for Gore-Tex or an equivalent fabric that can withstand abrasion from rucksack straps.
The same principles apply to legwear. Lightweight trekking trousers are suitable for daily use at lower altitudes, with waterproof over-trousers carried in the pack at all times. For colder, higher sections, thermal leggings should be worn underneath.
Footwear and Core Equipment
Boots are arguably the single most important piece of equipment. They must be waterproof, provide ankle support, and—critically—be thoroughly broken in. Arriving with new boots is a reliable way to ensure blisters.
The rest of the core kit should be equally reliable and streamlined.
- Backpack: A pack of around 40-50 litres is suitable for this trek. It must be comfortable when loaded and fitted correctly. Brands such as Osprey or Deuter are industry standards.
- Sleeping Bag: Although staying in teahouses, a good sleeping bag is essential for warmth and hygiene. A four-season bag rated to at least -10°C (14°F) is a sensible choice for nights above 3,500 metres.
- Water Purification: Never drink untreated water in the mountains. A reliable filter bottle such as a LifeStraw or Grayl GeoPress is effective, but purification tablets should always be carried as a backup.
- Trekking Poles: These significantly reduce the strain on knees, particularly on the thousands of stone steps during descents. They also improve stability and help establish an efficient walking rhythm.
Kit selection is an exercise in ruthless practicality. Every gram must justify its place. The best equipment isn't the most expensive, but the most reliable and functional for the specific environment you're entering.
For a deeper analysis of selecting purposeful equipment, our guide on packing for resilience explores the essential equipment that supports a true expedition mindset.
Physical Conditioning Programme
Do not underestimate the physical demands of the Annapurna Base Camp trek. Training should focus on two key areas: cardiovascular endurance and leg strength.
A structured programme should begin at least 12 weeks prior to departure.
- Cardiovascular Base: Undertake 3-4 sessions per week of continuous activity such as running, cycling, or using a stair machine. The aim is to maintain an elevated heart rate for 45-60 minutes per session.
- Strength and Endurance: Incorporate strength training twice a week. Focus on compound leg exercises that mimic trekking: squats, lunges, and step-ups are effective.
- Trek-Specific Training: This is the most critical component. Once a week, complete a long hike (4-6 hours) on hilly, uneven terrain. This must be done wearing the boots that will be used in Nepal and carrying a pack with 8-10kg of weight. Hill repeats are also an effective method for building the specific strength required for sustained ascents.
This trek is a serious physical undertaking that rewards good preparation. Arriving fit allows you to focus energy on enjoying the environment and acclimatising correctly, rather than merely enduring each day's walk.
Building a Realistic Trekking Budget
A sound budget is as important as broken-in boots. For Annapurna Base Camp, your budget largely determines your level of support and comfort on the trail. Costs can vary significantly, but a solid plan prevents logistical problems at altitude.
The primary factor is your trekking style: fully independent versus a fully supported trip arranged through an agency. For a well-supported trek, a budget of approximately £40–£60 per day on the trail (after permits and transport) is a realistic estimate.
Core Cost Breakdown
This is a breakdown of the main expenses. Prices in Nepal can fluctuate, so these should be used as estimates for planning.
-
Permits: The Annapurna Conservation Area Permit (ACAP) and the Trekkers’ Information Management System (TIMS) card are non-negotiable. Together, they cost approximately 5,000 Nepalese Rupees (NPR), which is around £30.
-
Guide and Porter Hire: A licensed guide typically costs £20–£25 per day. A porter, who will carry up to 15kg of your main pack, costs about £15–£20 per day. These fees should cover their food, accommodation, and insurance.
-
Accommodation: Teahouses provide basic lodging, costing from £4–£8 (500-1,000 NPR) per night for a simple twin room. Prices increase with altitude. Teahouse owners derive their income from the food you purchase; the established etiquette is that you eat where you sleep.
-
Food and Water: Plan for £20–£30 (3,000-4,500 NPR) per day. The cost of a plate of dal bhat (lentils and rice) increases with elevation. Bottled water also becomes expensive. A filter bottle and purification tablets are a more cost-effective and environmentally sound option.
Getting There and The Contingency Fund
Factor in the cost of transport to the trailhead. A taxi from Pokhara to Nayapul costs £15–£25, depending on negotiation. Local buses are cheaper but take longer.
Finally, a contingency fund is essential, not optional. We recommend an extra £150–£200 held in reserve for unexpected events such as trail delays or minor medical needs. Settling finances beforehand allows you to focus on the trek itself.
Annapurna Base Camp Trek FAQs
Good planning is based on good information. Here are direct answers to common questions from trekkers preparing for this route.
Is Travel Insurance Mandatory for the Annapurna Trek?
Yes. Since April 2023, the Nepal Tourism Board has made comprehensive travel insurance a requirement for all foreign trekkers.
More importantly, it is your primary safety net. Your policy must cover high-altitude trekking to at least 5,000 metres and include helicopter evacuation. In the event of a serious incident, this is the only viable method of extraction. Check the policy details carefully; standard holiday insurance is insufficient.
What Is Teahouse Accommodation Really Like?
Teahouses are simple, family-run mountain lodges. Rooms are basic, usually with two twin beds and plywood partitions. Bedding is provided, but carrying your own four-season sleeping bag is advisable for additional warmth and hygiene.
The dining room serves as a communal hub where trekkers gather in the evenings around a central stove. The facilities are functional, reflecting the remote environment.
Teahouses are a lesson in mountain pragmatism. They provide shelter, warmth, and sustenance where it is most needed. Treat them and their owners with respect; you are a guest in their high-altitude home.
How Much Cash Should I Carry on the Trek?
Carry enough for the entire trek, plus a contingency. There are no ATMs beyond Pokhara.
Budget 3,000-4,500 NPR per day (roughly £20-£30) for meals and drinks. On top of this, carry a contingency fund of at least £150-£200 in cash. Keep it secure and consider splitting it between different locations in your pack.
What Are the Toilet and Washing Facilities Like at Altitude?
Facilities become more basic with increasing altitude. In lower villages, you may find Western-style flushing toilets and paid-for hot showers.
Above Chhomrong, expect squat toilets and cold-water basins. A "hot shower" is often a bucket of water heated on a stove. Daily showering is not practical; wet wipes become a primary tool for hygiene. This is part of the reality of operating at altitude.
Proper preparation is the cornerstone of any successful expedition. At Pole to Pole , we apply decades of extreme-environment expertise to help you build the skills and mindset needed for challenges like the Annapurna trek and beyond. Discover our expedition training programmes and learn how to operate with quiet confidence in the world's most demanding landscapes.
Learn more at https://www.poletopole.com.